The programmed death of manual lab pipelines.
Drop in raw microscope files, let AI find every cell, review the masks yourself, and compare conditions — in the browser, on your own computer. Open source.
Validated against a published StarDist workflow — 5 real datasets, 78 fields, 21,385 reference nuclei
From raw files to statistics in four steps
Local by design
The engine runs on your computer and uses its GPU. Patient-derived images never leave the lab, and nothing is uploaded.
You stay in control
The decisions that matter scientifically — which channel, which control, which mask is wrong — stay with the researcher.
Reproducible by default
Every export carries a record of exactly how it was produced: model, settings, thresholds. Results you can defend to a reviewer.
Run it on your computer
The interface is this page. The engine installs once — Python 3.10 to 3.12 and Git, then:
git clone https://github.com/abrilcode/apoptotic-lab.git
cd apoptotic-lab
python3 -m venv .venv && source .venv/bin/activate
pip install -r requirements.txt
uvicorn app:app --host 127.0.0.1 --port 8010
Windows steps are in the installation guide. Then:
Raw data
One image: a multichannel file, or the single-channel files of one field.
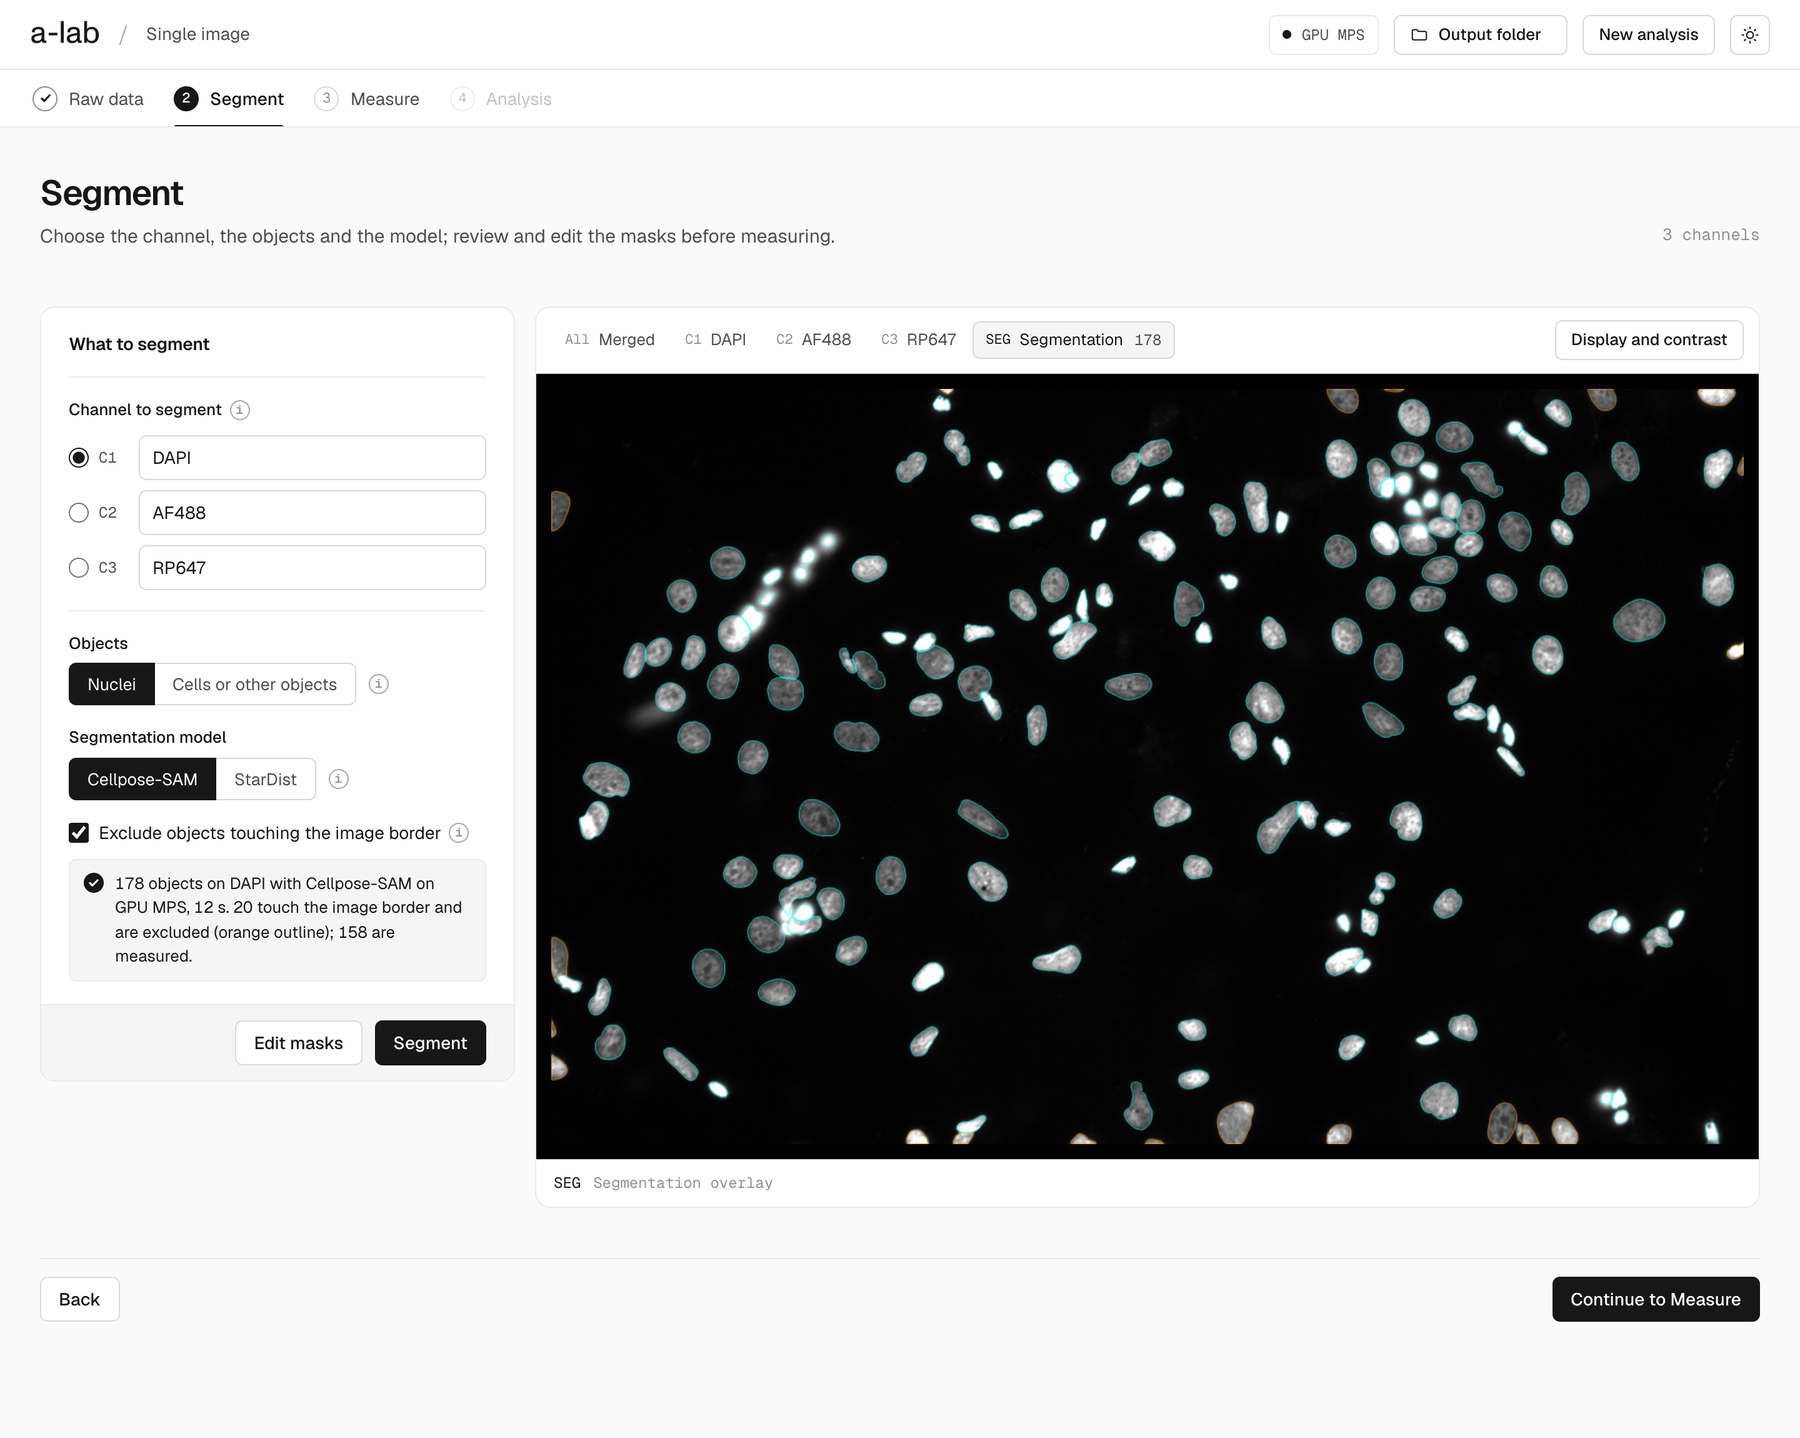
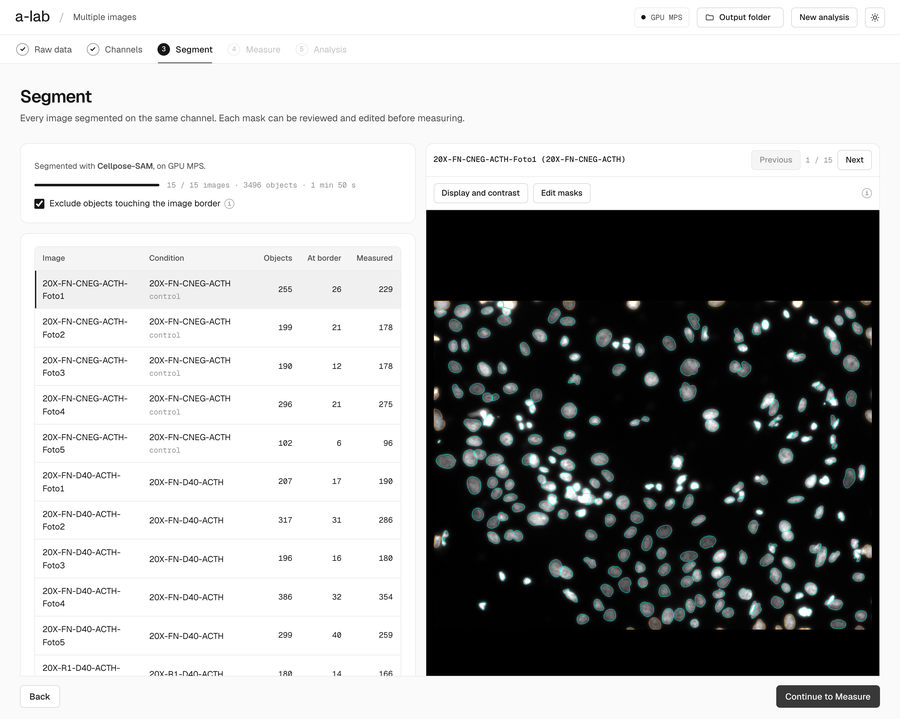
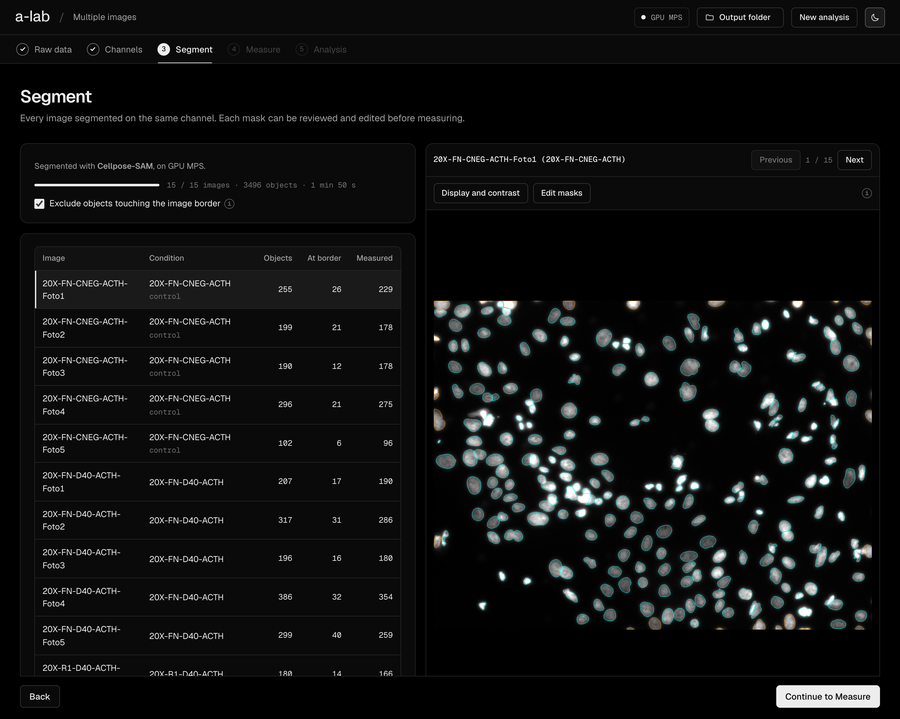
Segment
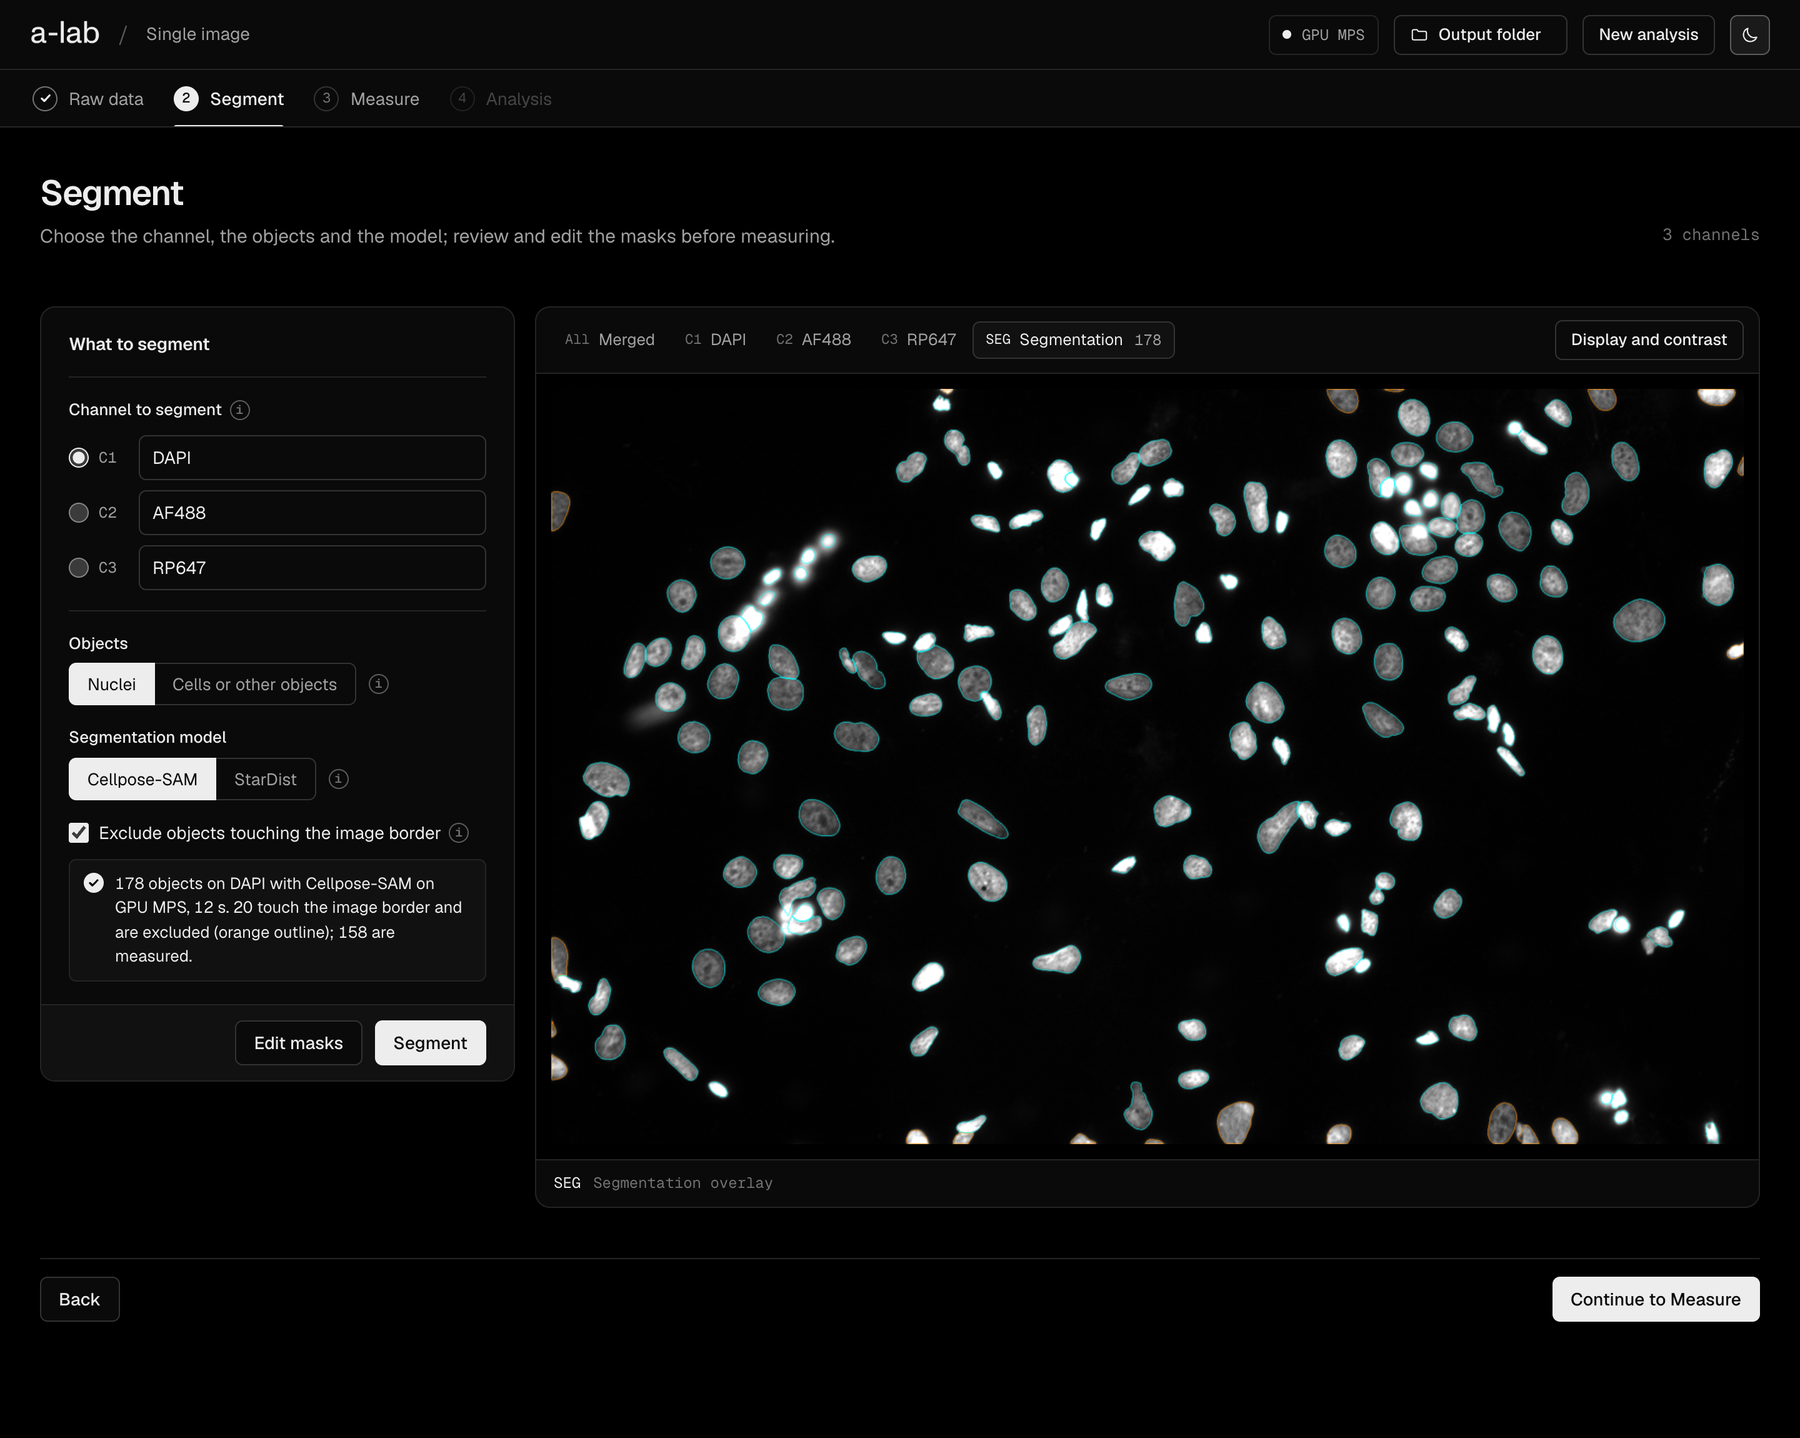
Choose the channel, the objects and the model; review and edit the masks before measuring.
What to segment
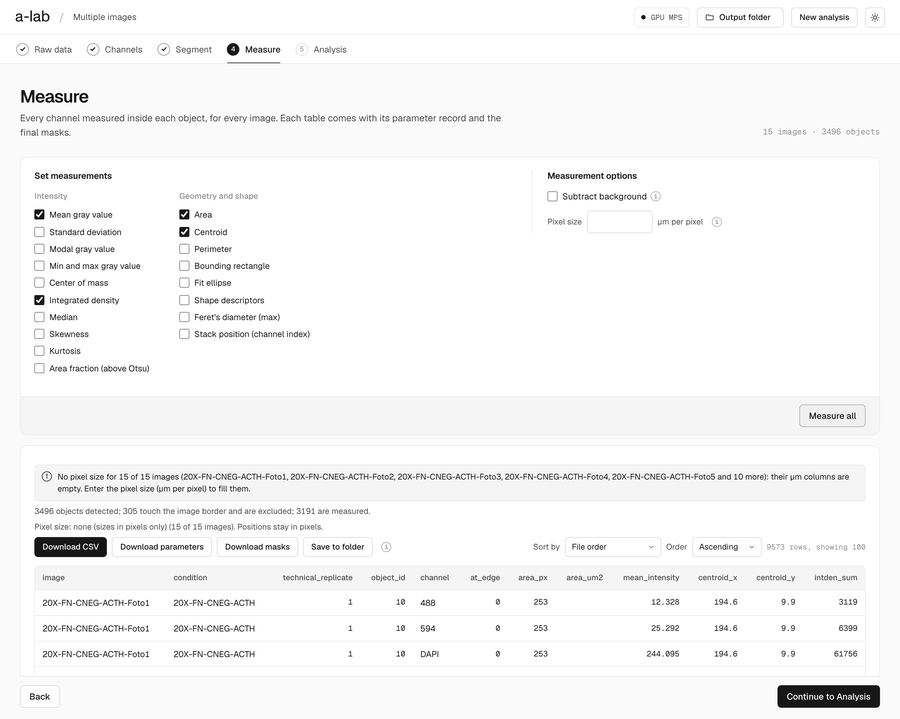
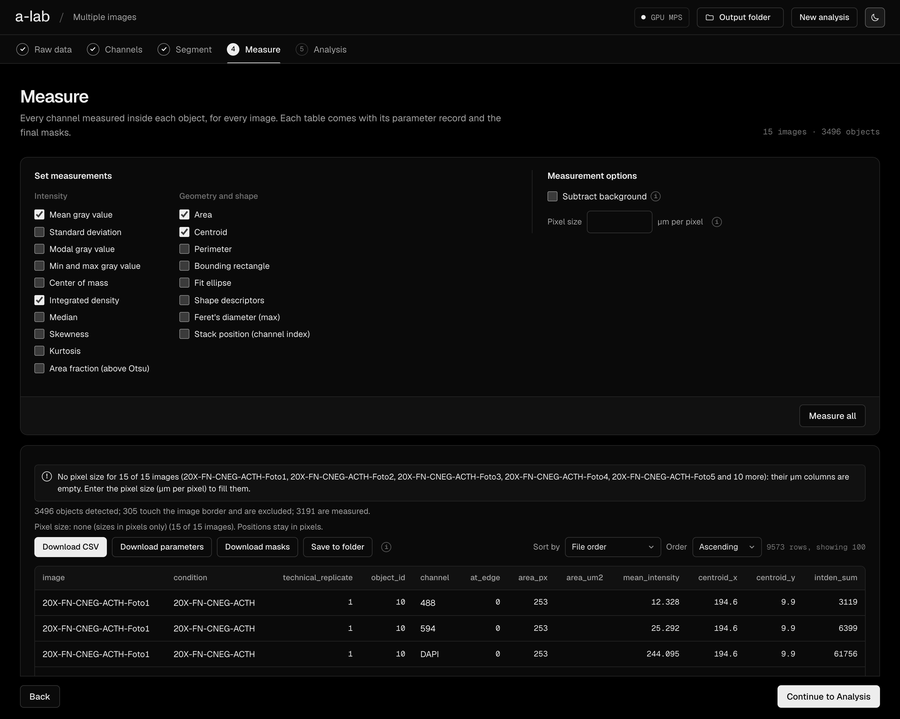
Measure
Every channel measured inside each object. Each table comes with its parameter record and the final masks.
Set measurements
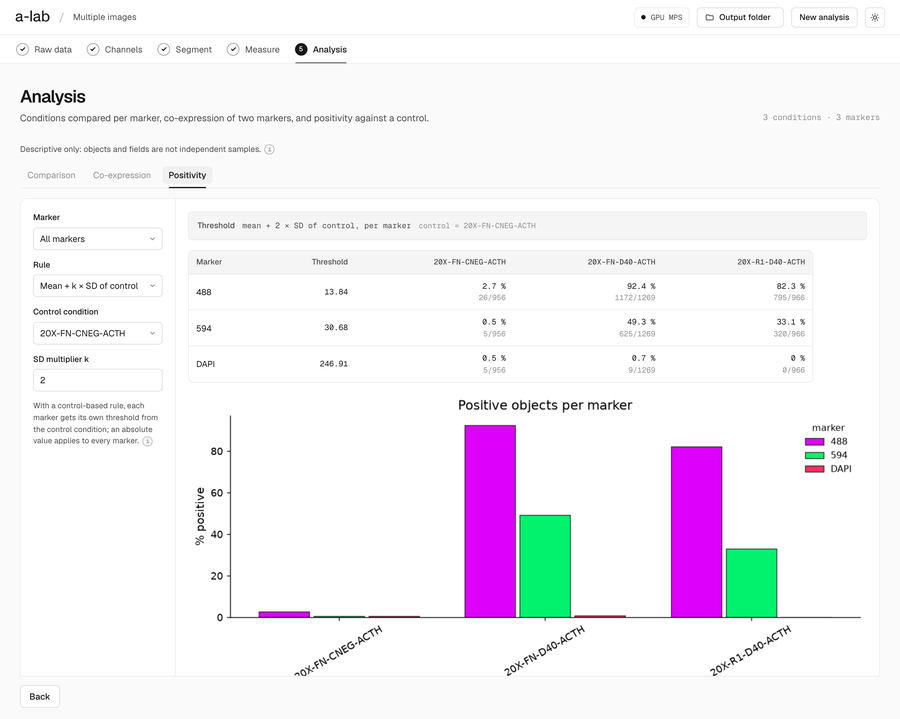
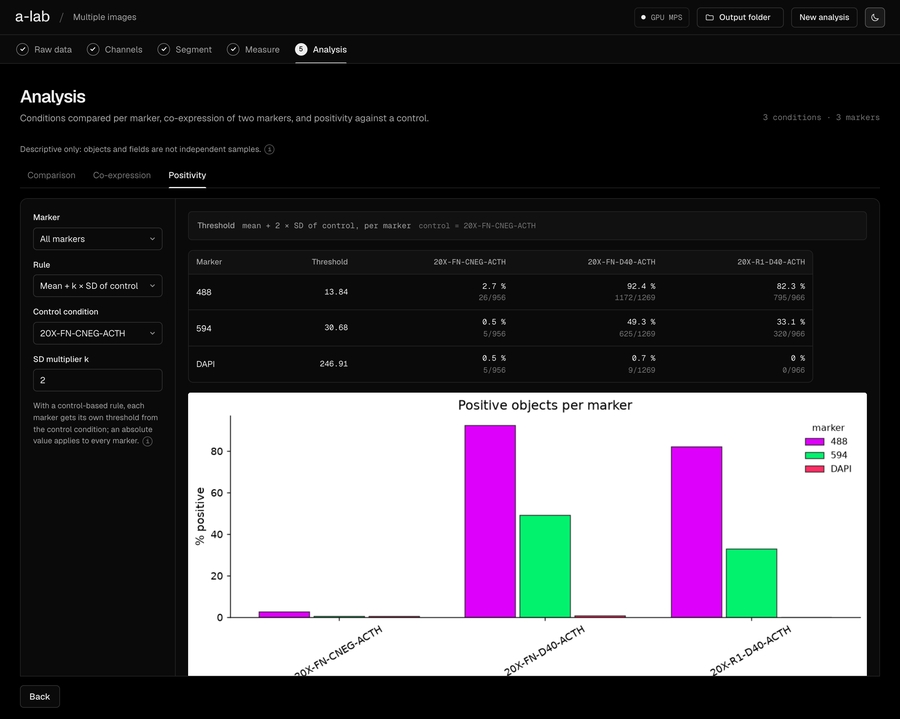
Analysis
Distribution of one measurement per channel. Descriptive only.
Raw data
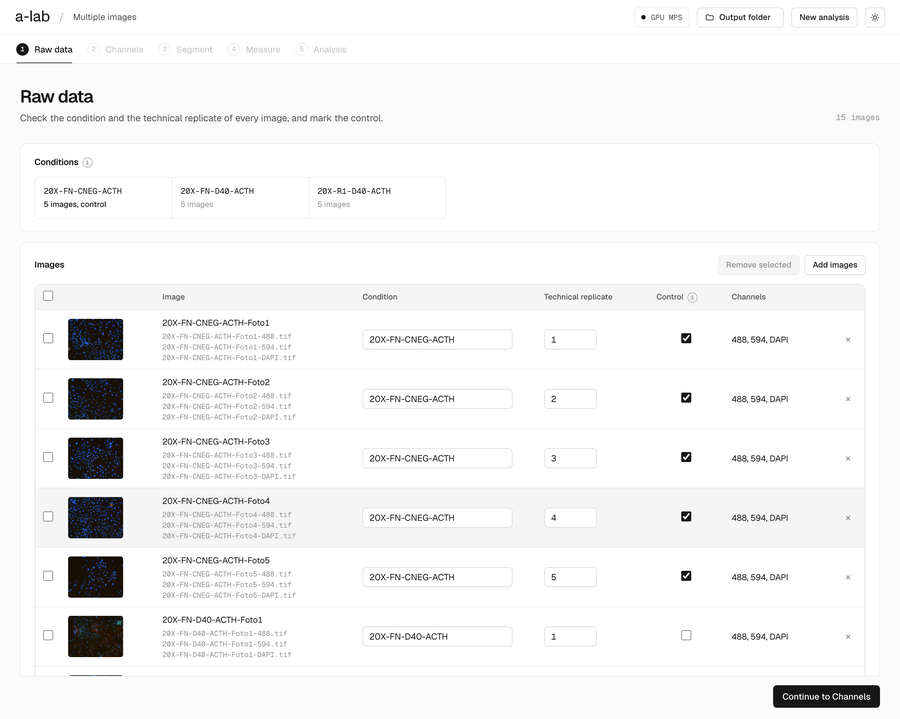
Images of one experiment, grouped by condition from their file names.
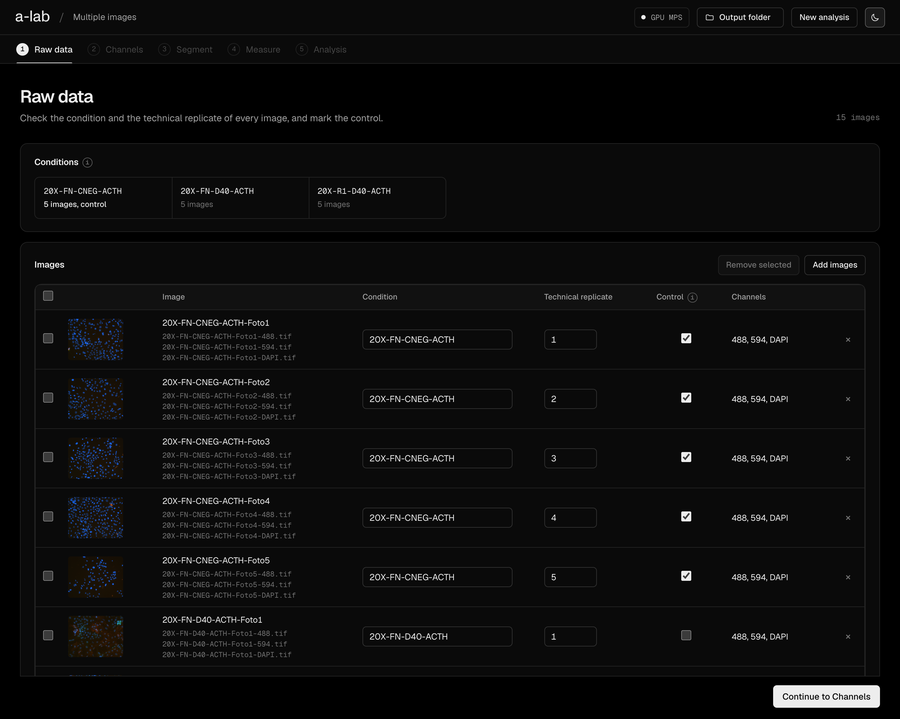
Raw data
Check the condition and the technical replicate of every image, and mark the control.